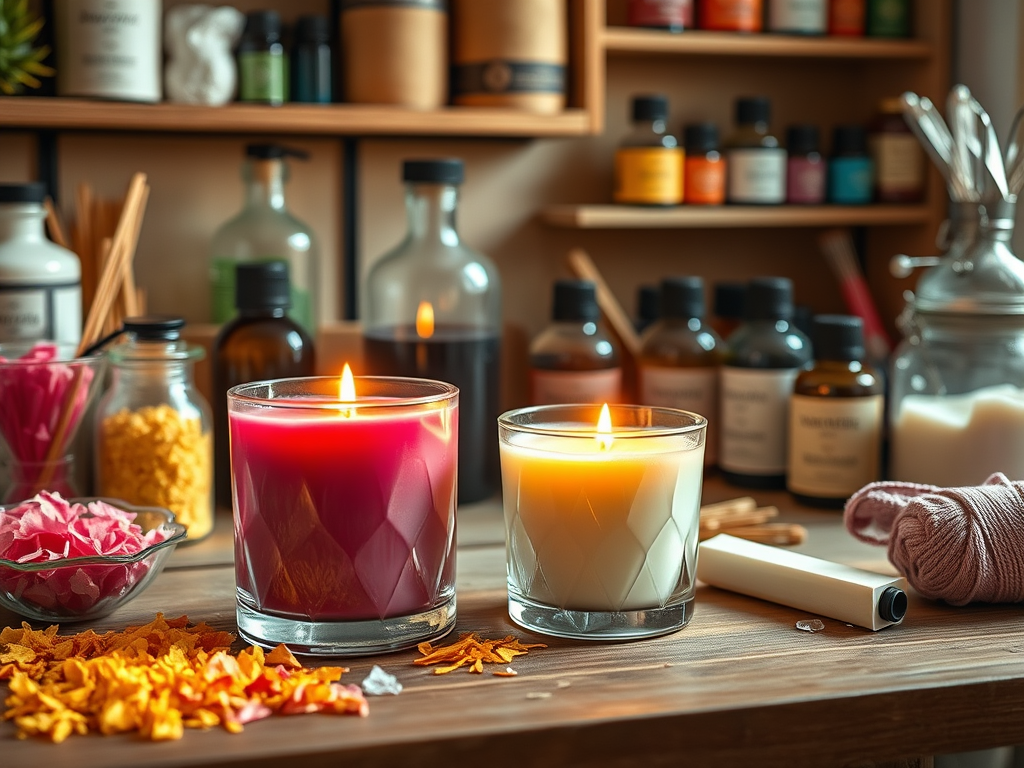
Everything you need to know to make soy wax candles

1) Supplies
Soy wax: choose all-natural soy wax flakes (or soy blend if you prefer).
Wicks: cotton, with a wick tab or sustainer; match wick size to container diameter and wax amount.
Containers: heat-safe glass jars, tin vessels, or ceramic pots.
Double boiler or a heat-safe pot and a smaller one or a dedicated melting pitcher.
Thermometer: to monitor wax temperature.
Fragrance oil or essential oil (optional): ensure it’s skin-safe for candles and rated for candle usage.
Colorants (optional): candle dye blocks, liquid dyes, or pigment chips designed for soy candles.
Stirring utensils: stainless steel or silicone spoon/spatula.
Adheres for wick: wick stickers or a small dab of melted wax to secure.
Pour pitcher or measuring cup: for precise pouring.
Scale (optional): for accurate fragrance load.
Protective gear: heat-resistant gloves, apron, safety glasses.
2) Safety basics
Work in a well-ventilated area.
Never leave melting wax unattended.
Keep a metal tray or baking sheet under your workspace in case of spills.
Do not overheat wax; soy wax typically melts around 120–180°F (49–82°C) depending on the blend.
Keep water away from the wax to avoid splatter if using a double boiler.
3) Choose your fragrance load
Typical fragrance load for soy candles: 6–10% of the weight of wax.
Example: 1 lb (16 oz) of wax can take about 0.96–1.6 oz of fragrance.
For beginners, start at 6–8% and adjust in small increments in future batches.
4) Step-by-step method
A. Prepare the workspace
Lay out all supplies.
Attach the wick to the container center using a wick sticker or a dab of melted wax.
If using multi-wick setups, ensure each wick is centered.

B. Melt the wax
Use a double boiler: fill bottom pot with water and bring to a simmer.
Place wax in top pot or pouring pitcher and melt gently.
Monitor temperature with a thermometer.
C. Prepare the wick and container
Make sure wick is centered; you can use a wick holder or a pencil laid across the top of the container to keep it centered while the wax sets.
D. Add fragrance and color (optional)
Once the wax reaches the recommended pouring temperature for your wax (often around 170–180°F / 77–82°C for fragrance addition; check your wax’s label), remove from heat.
Add fragrance oil at the recommended percentage (e.g., 6–8%), then stir slowly for 1–2 minutes to fully incorporate.
If using color, add now and stir until evenly distributed.
E. Pour the wax
Allow the wax to cool to the pouring temperature recommended by your wax manufacturer (often around 140–160°F / 60–71°C).
Pour slowly to avoid air bubbles.
Leave a small amount of wax in the pot for top-off if needed.
F. Set and cure
Let candles cool undisturbed at room temperature.
For best results, cure 1–2 weeks before burning (some soy waxes cure faster; check manufacturer guidance).
Trim wick to about 1/4 inch (6 mm) before lighting.
5) Troubleshooting quick tips
Sinking/creased tops after curing: caused by uneven cooling; allow taper + top-off with a small amount of fresh wax.
Frosting (white specks): natural with soy; not a defect. Increase fragrance or color depth if you want a more uniform look.
Poor fragrance throw: ensure you used the correct fragrance load, stirred well, and allowed adequate curing time. Check that your fragrance is designed for candles.
Wet/droopy top: avoid pouring at too high a temperature or in a very humid environment; pour at recommended temp.
6) Simple recipe (starter)
Yield: 1 standard 8 oz jar
Materials:
8 oz soy wax flakes
1 cotton wick (size to container, e.g., 1/0 or 1/0-2)
8 oz container
0.5–0.7 oz fragrance oil (6–9%)
Optional: colorant
Steps:
Attach wick centered in jar.
Melt 8 oz soy wax in a double boiler until fully melted.
Remove from heat, check temp (~170–180°F / 77–82°C).
Add fragrance: 0.5–0.7 oz, stir 1–2 minutes.
Add color if using; stir until uniform.
Pour at ~140–160°F (60–71°C) into jar.
Cool undisturbed; trim wick to 1/4 inch after it solidifies.
7) Common wick sizing guide (rough)
3–4 oz jars: Wick size 0 (or 1/0) depending on brand.
6–8 oz jars: Wick size 1 to 2.
12 oz jars: Wick size 2 to 3.
Always follow your wick manufacturer’s sizing recommendations for best performance.
8) Decoration ideas (optional)
Layered scents: coffee + vanilla, citrus + fir (use small amounts to avoid muddiness).
Tealight or small decorative jars with natural colorants (spirulina for green, beetroot for pink).
Simple label designs using printable labels.
9) How to store and finish
Store finished candles in a cool, dry place away from sunlight.
Label with scent, burn date, and safety instructions.
If you plan to sell, consider testing burn times and provide a burn safety guide.

Leave a Reply